Precompose only works with 1 object at a time

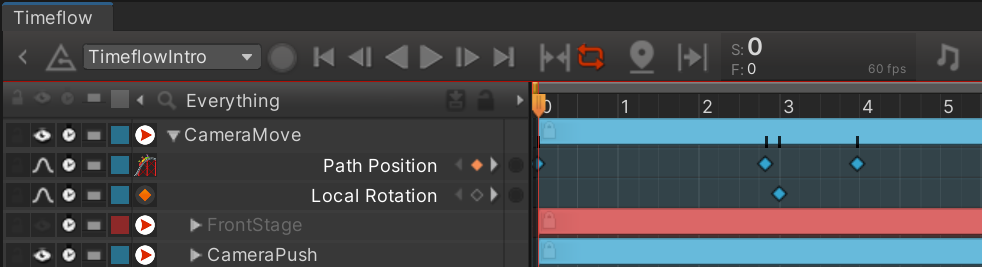


When children are hidden, the foldout arrow is displayed with a +
 {% endhint %}
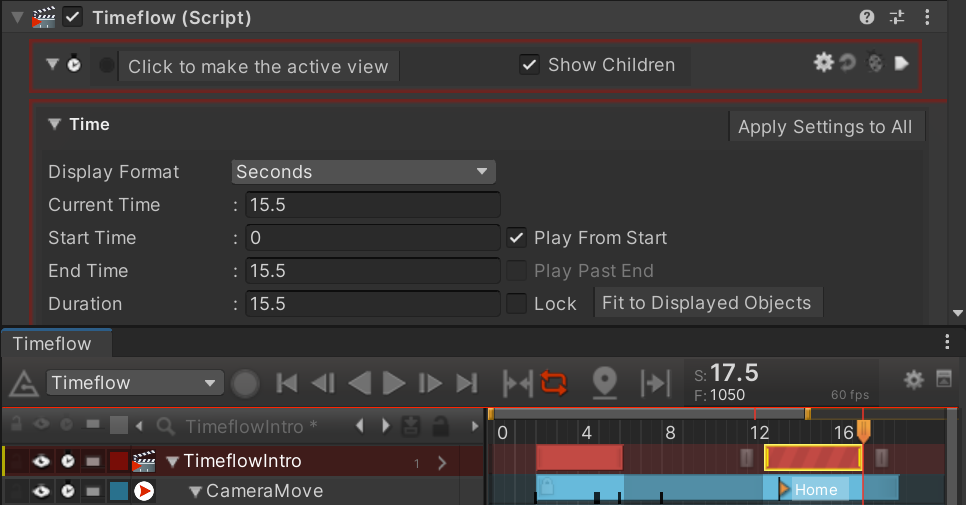
## Exit Precomp Mode
Once you're done working on a precomp, you can return to the parent Timeflow view by click the small arrow  in the upper left corner.
{% hint style="success" %}
You can also use the keyboard shortcut **Control + Minus** to exit the precomp.
{% endhint %}
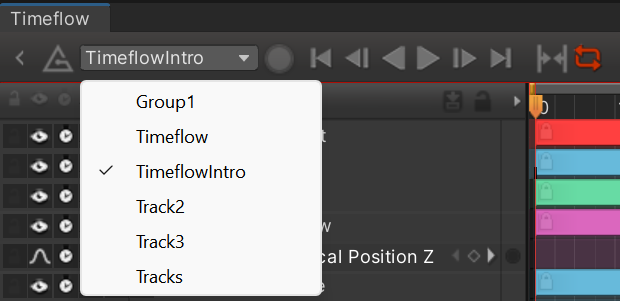
## Timeflow Select Menu
To change the active view, you can also select from the drop down menu in the top left. This lists all Timeflow instances in the current scene.
{% endhint %}
## Exit Precomp Mode
Once you're done working on a precomp, you can return to the parent Timeflow view by click the small arrow  in the upper left corner.
{% hint style="success" %}
You can also use the keyboard shortcut **Control + Minus** to exit the precomp.
{% endhint %}
## Timeflow Select Menu
To change the active view, you can also select from the drop down menu in the top left. This lists all Timeflow instances in the current scene.